Why Your Screenshot Settings Matter
If you want clean, professional-looking CS2 skin screenshots, your in-game settings matter more than most people think. Whether you're posting skins on Discord, listing items for sale, showing off combos, creating guides, or running a skin website — using the right settings can make a huge difference.
In this guide I'll show you the exact setup I personally use to create clean skin screenshots. It's simple, takes about 30 seconds to set up, and the results speak for themselves.
📍 Step 1 — Use a Skin Inspect Server
Before changing any settings, you need a proper inspect environment. I personally use cs2inspects.com — it's one of the easiest tools to inspect skins, test combos, and create consistent screenshots.
Why this works well:
- Fast loading inspect servers
- Easy skin testing
- Stable, neutral lighting
- Clean environment — perfect for screenshots
You can load any skin and instantly start taking pictures. No need to own the skin yourself.
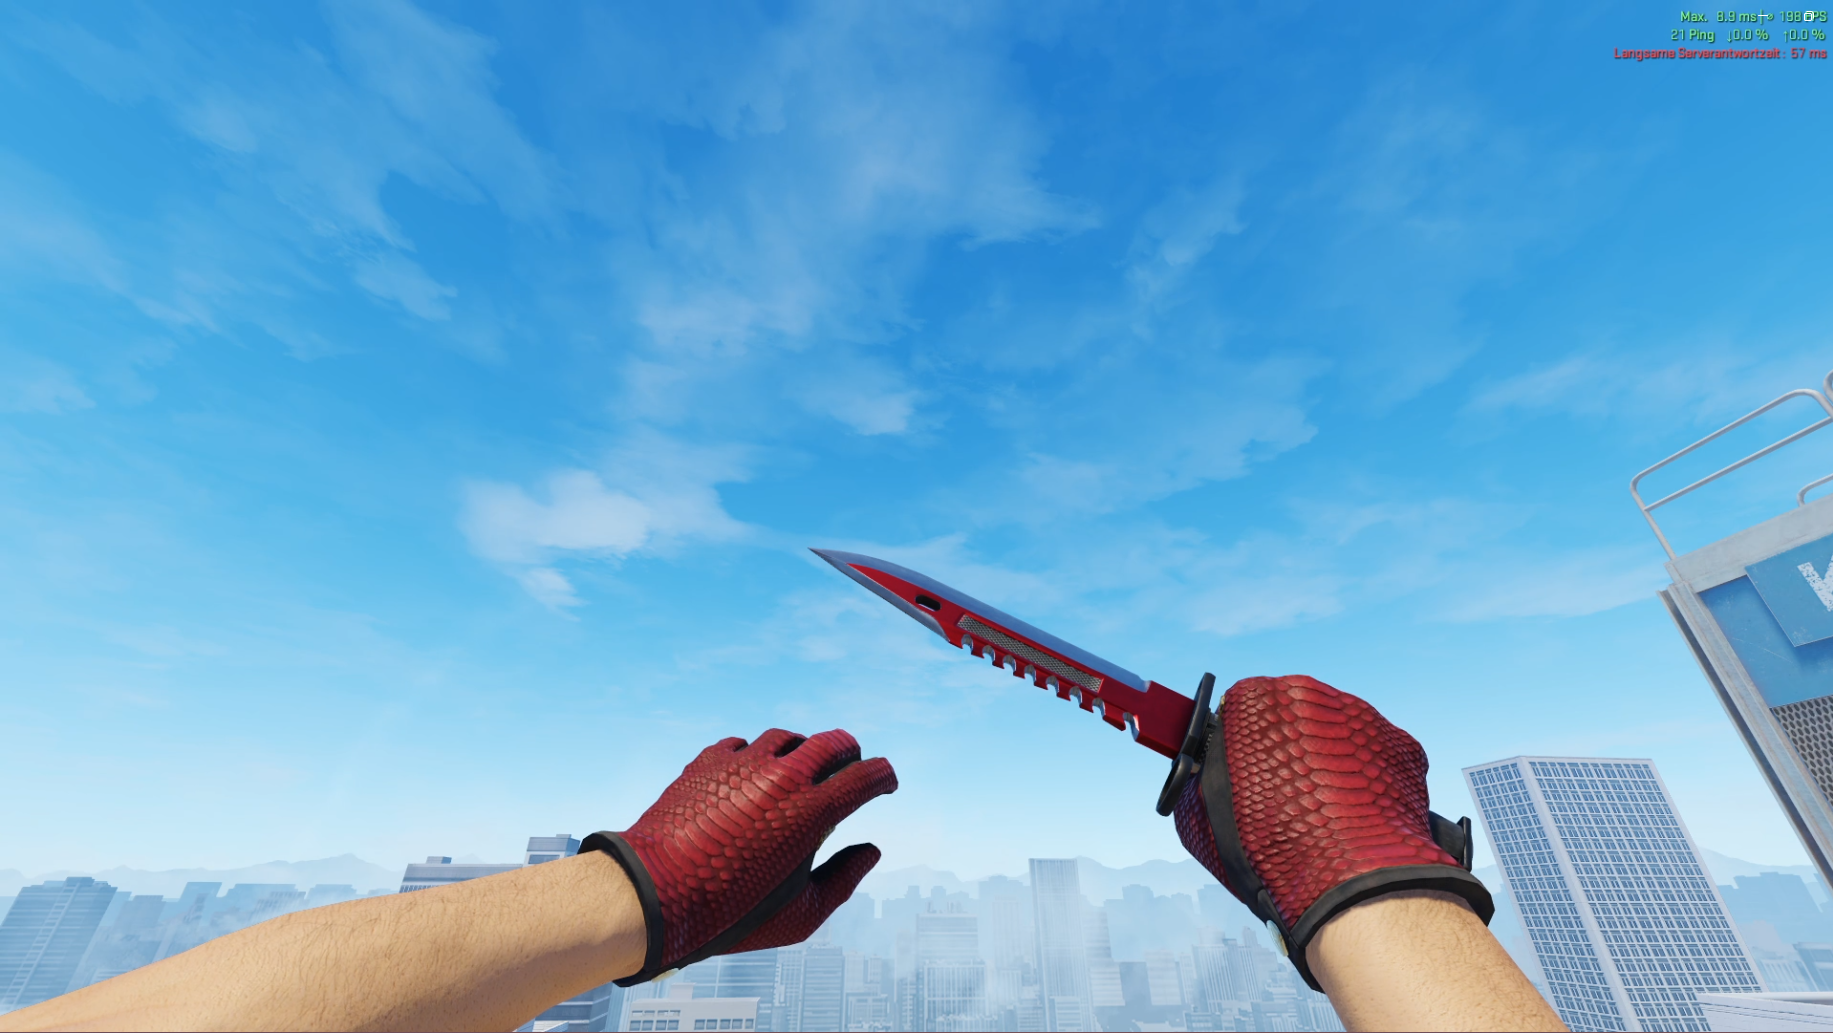
🖥️ Step 2 — Remove the HUD
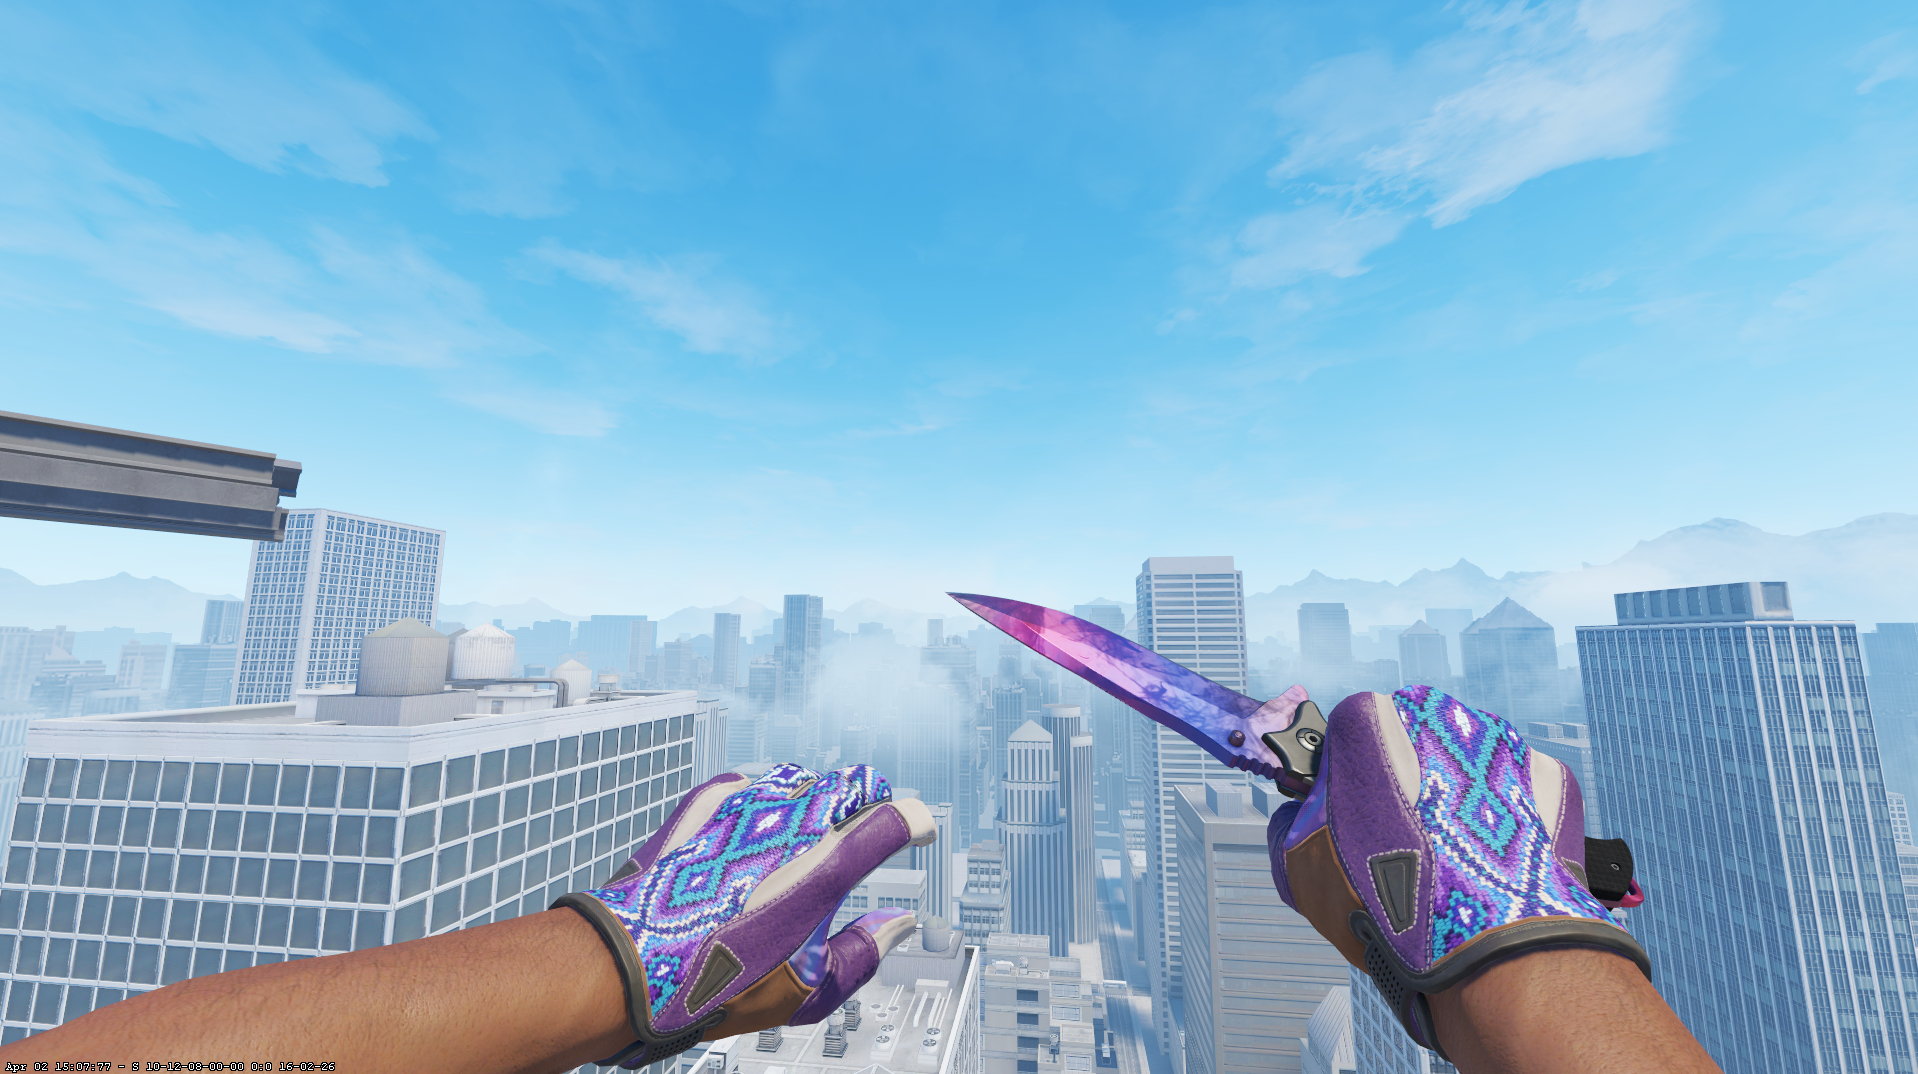
The first thing you should do is hide the HUD. This removes the health bar, ammo counter, minimap, and all other UI elements — and makes your screenshots look much cleaner.
Open the console and run:
cl_drawhud 0To enable the HUD again:
cl_drawhud 1Here's the difference:
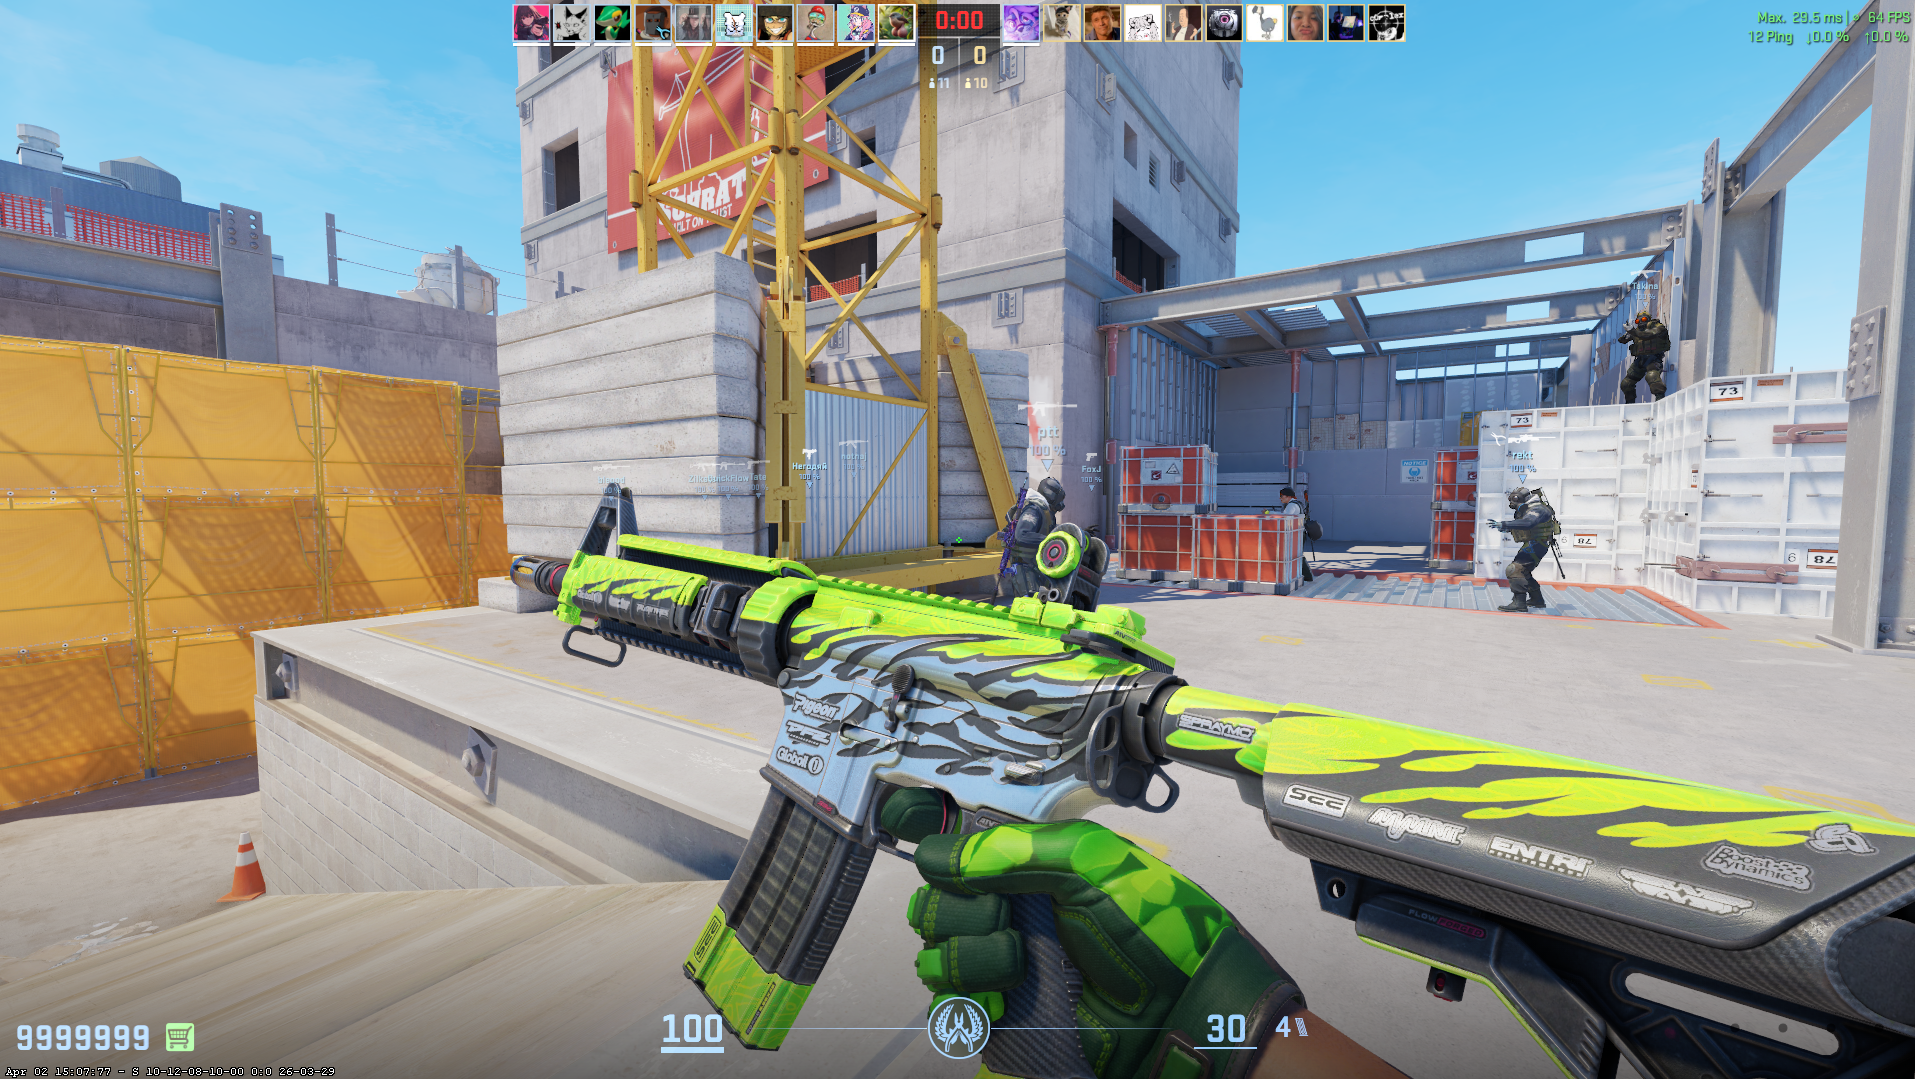
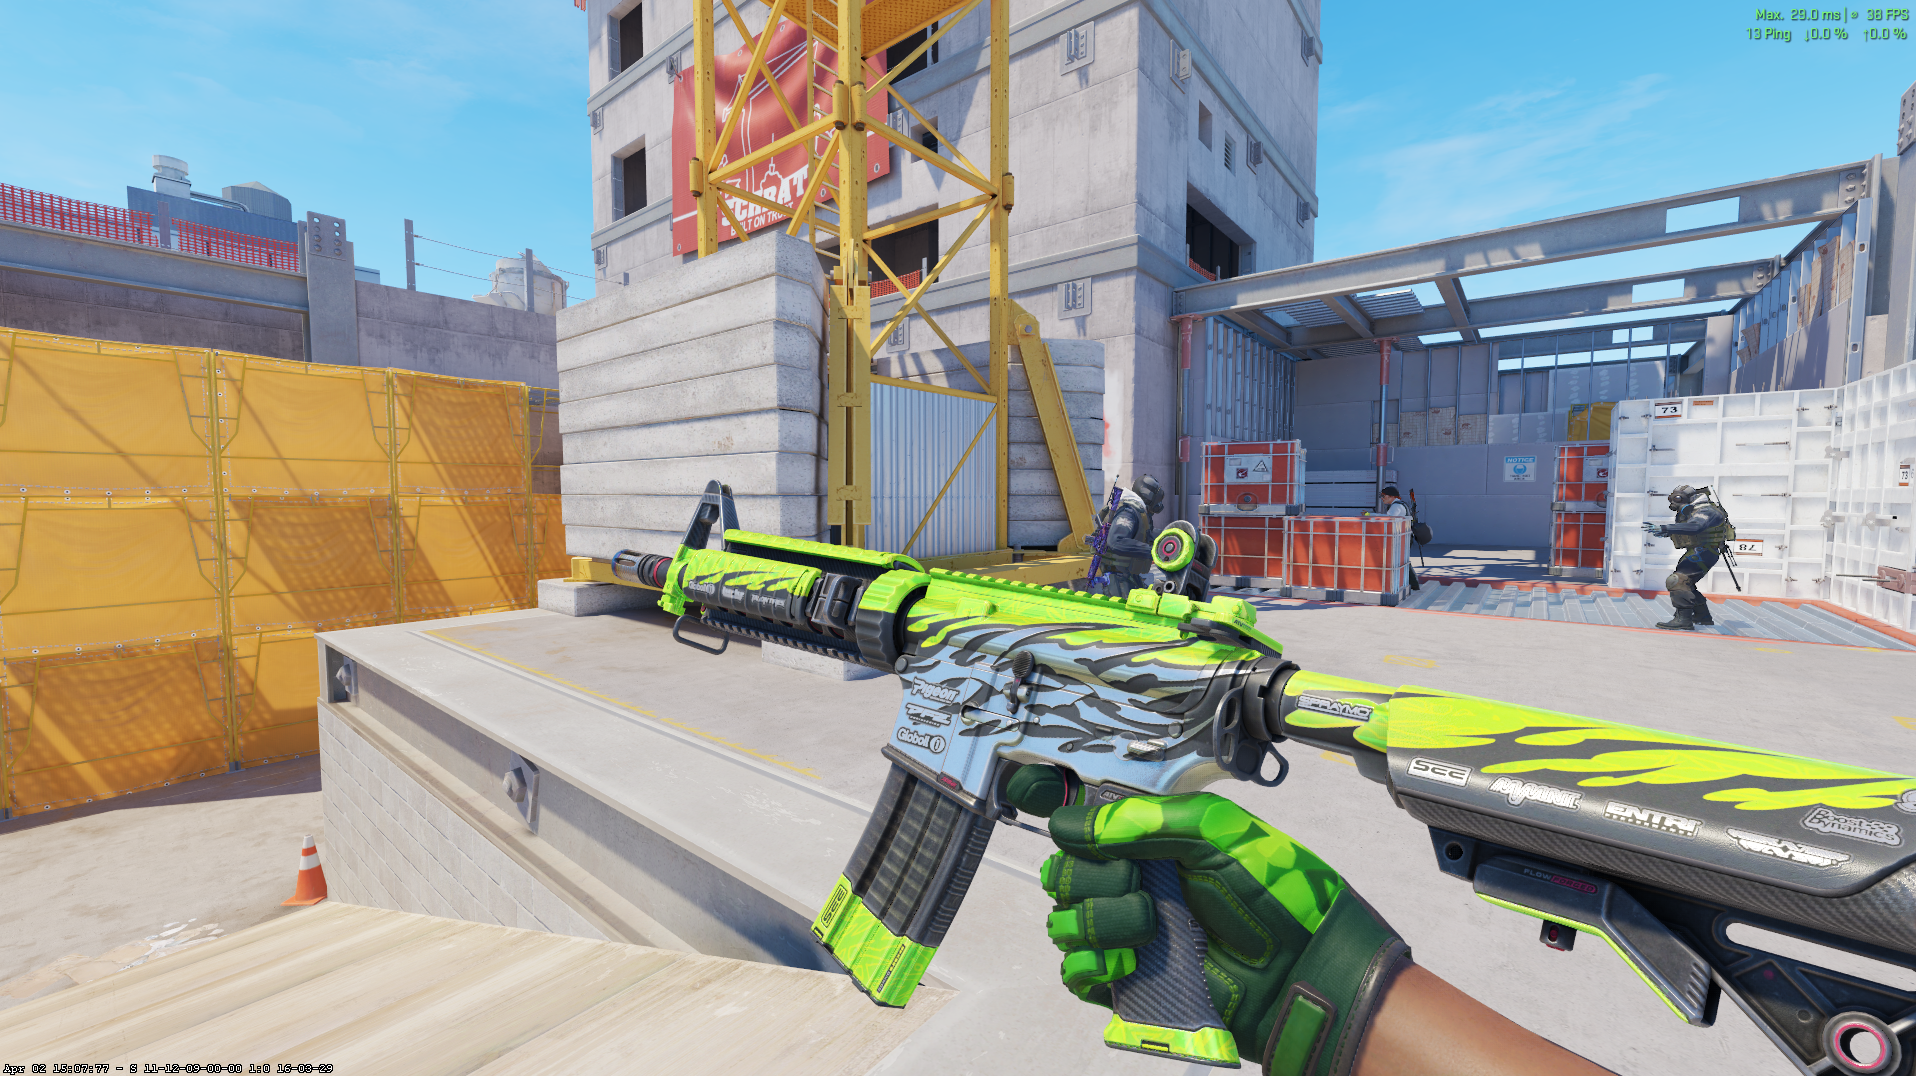
This is the single most important setting for clean screenshots. Everything else is bonus.
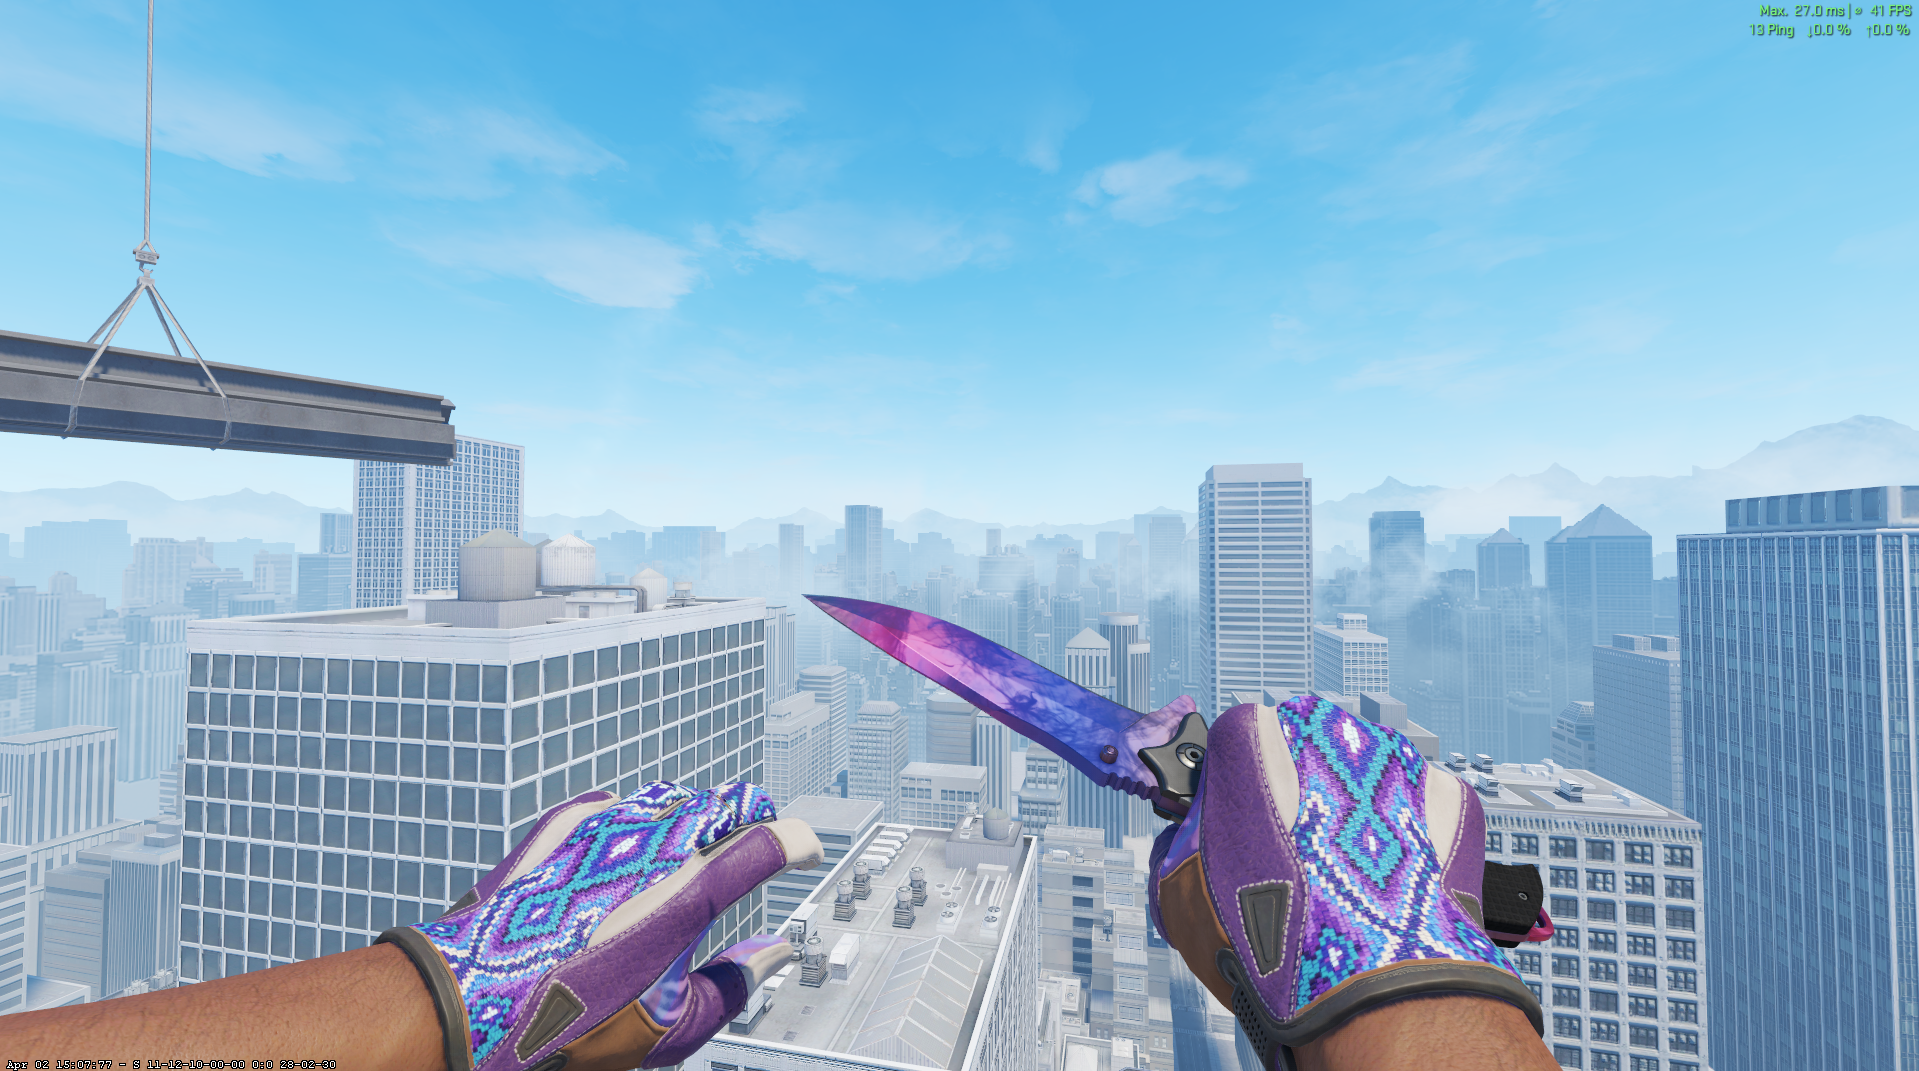
🔧 Step 3 — Set the Best Viewmodel
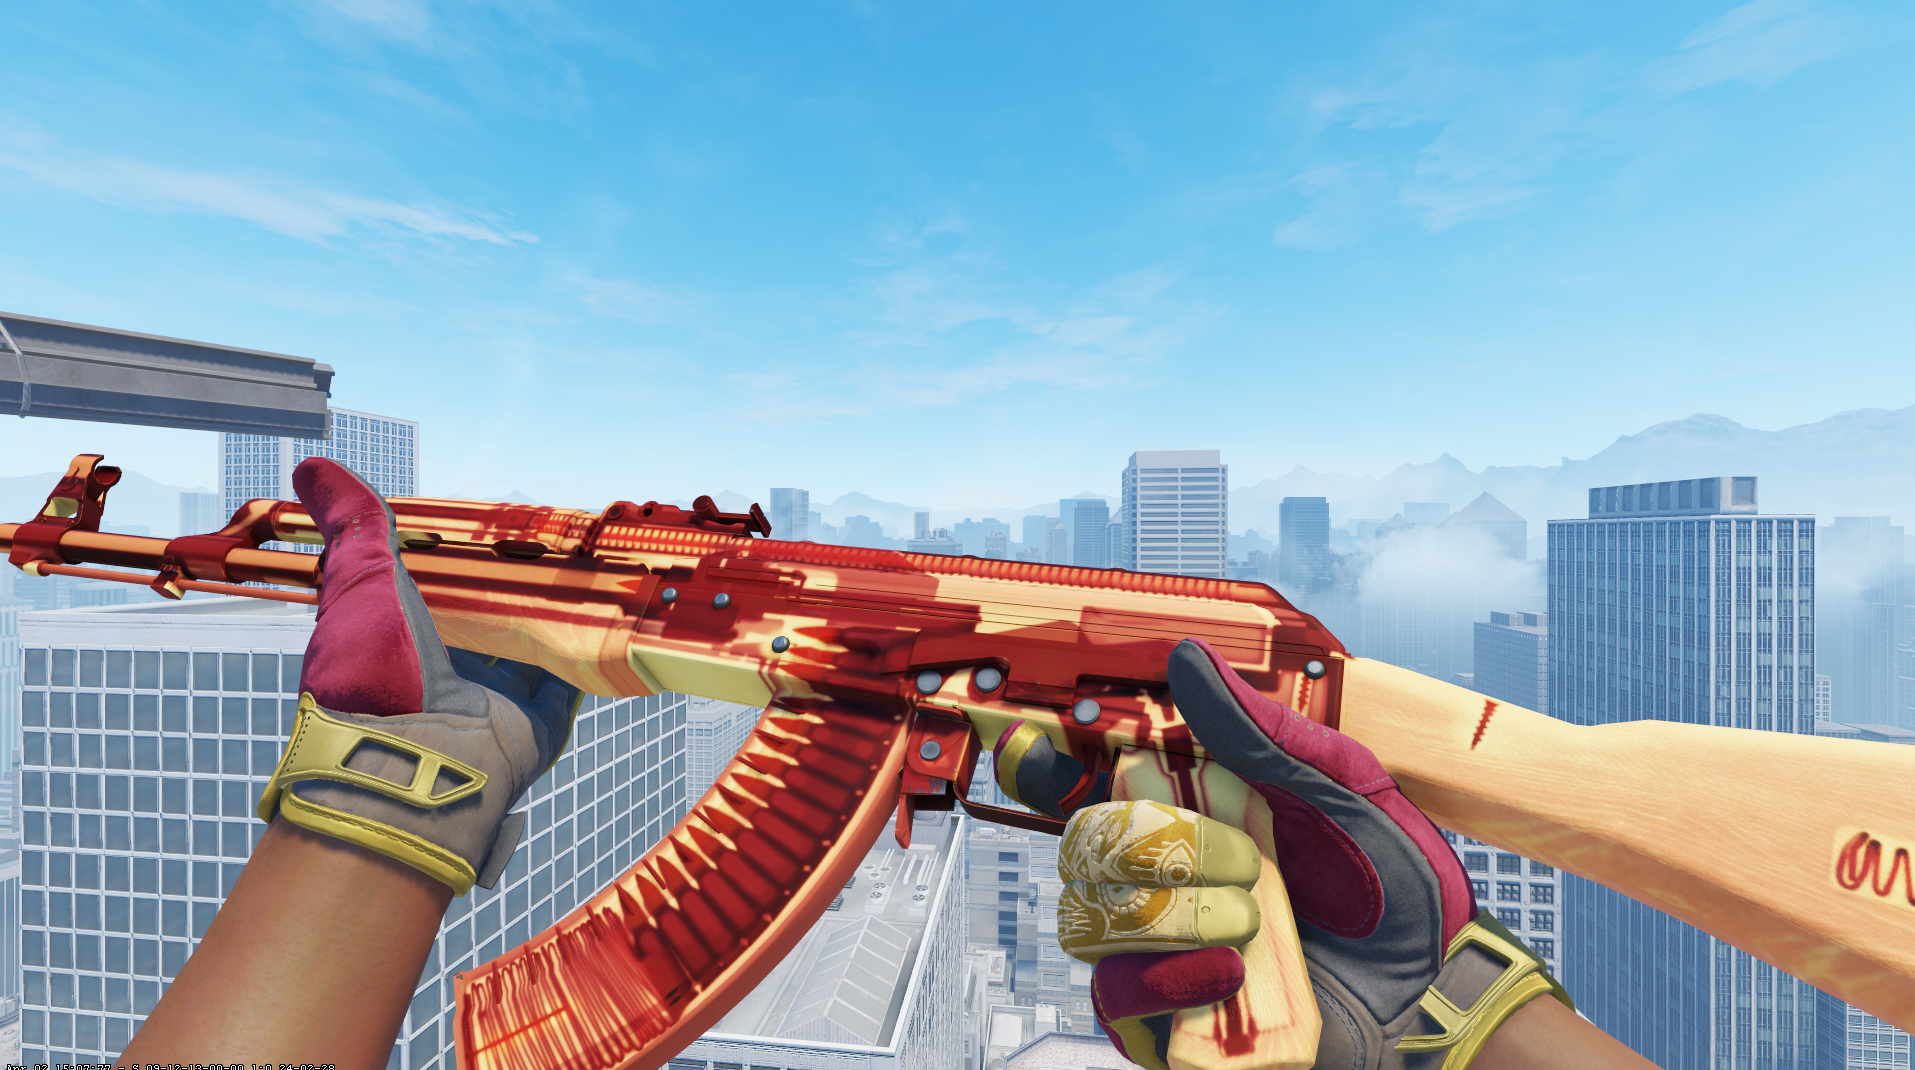
The default viewmodel isn't ideal for screenshots. You want the weapon slightly to the right, slightly forward, and clearly visible without blocking the screen.
Here are the settings I use:
viewmodel_offset_x 2.5viewmodel_offset_y 2viewmodel_offset_z -0.5These create better visibility, cleaner framing, and more professional-looking screenshots. They're widely used by traders and content creators.
⚙️ Optional — Hide HUD but Keep Crosshair
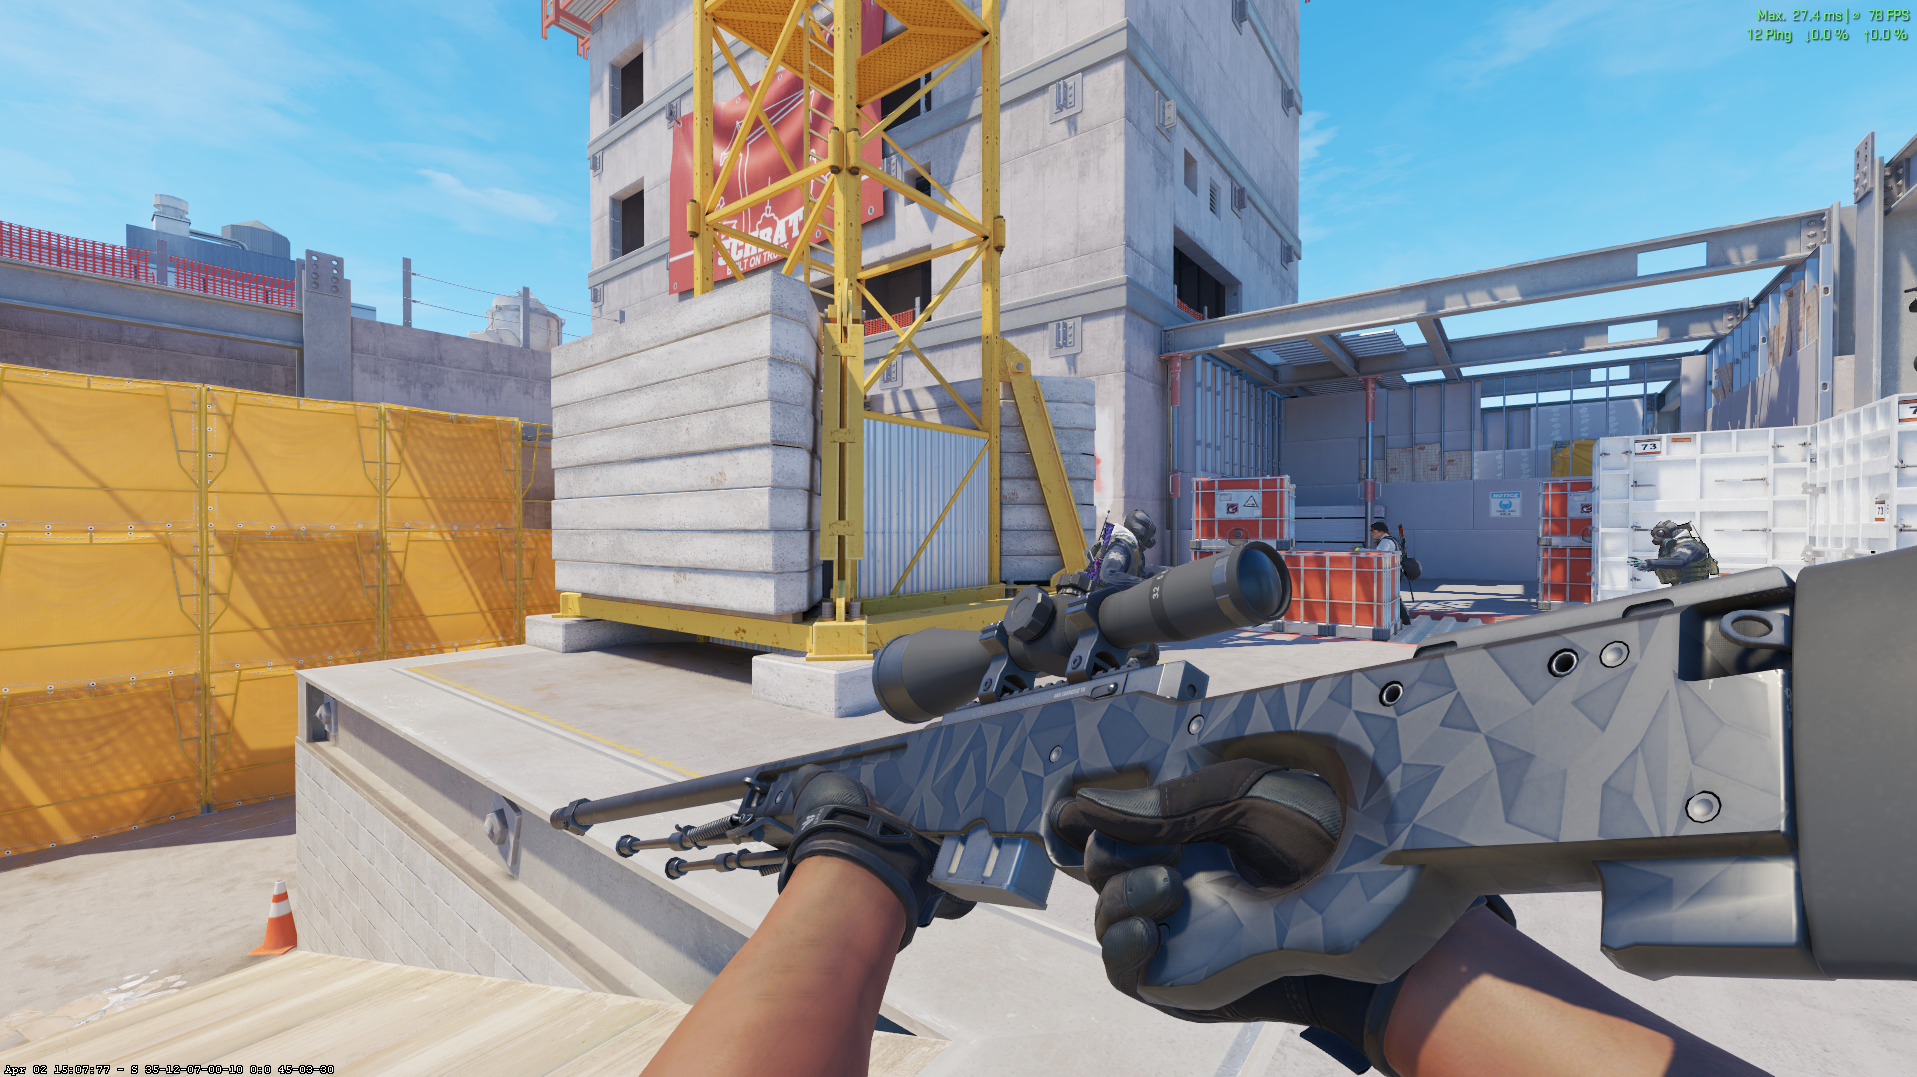
Sometimes you want no HUD but still want to keep the crosshair and killfeed. This is useful for gameplay screenshots, highlight images, or realistic scenes.
First, enable cheats (only works on your own server):
sv_cheats 1Then hide the HUD while keeping crosshair and killfeed:
cl_draw_only_deathnotices 1To revert:
cl_draw_only_deathnotices 0💡 Extra Tips for Better Screenshots
Use High Graphics Settings
Always use high textures, high shaders, and high effects when taking screenshots. This improves skin shine, reflections, and colours — even if you normally play on lower settings for performance.
Use Consistent Lighting
Good lighting makes skins look way better. Inspect servers with neutral lighting are ideal. Avoid dark maps, heavy shadows, or colourful backgrounds that mess with the skin's appearance.
Take Multiple Angles
Don't rely on a single image. Always capture multiple angles — front view, side view, inspect animation, and glove + knife combo. This makes your content look more professional and gives buyers/viewers a better sense of the skin.
📋 My Full Screenshot Setup (Copy & Paste)
Here's everything in one block. Just paste this into your console:
cl_drawhud 0
viewmodel_offset_x 2.5
viewmodel_offset_y 2
viewmodel_offset_z -0.5
That's it. Simple and clean. Takes 10 seconds and makes every screenshot look better.